PROJECT CREDIT – Josh McClung Class of 2017
LEDarray – Question most frequently asked in class? Survey says… “WHAT TIME DOES CLASS END”. Most teachers would just post a bell schedule. Not here… We have a progress bar to indicate when class will end. 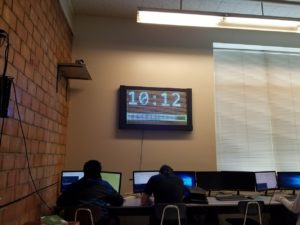
The fun doesn’t stop there. Students can also SSH into this fun little display and post their own code using a JAVA IDE found on processing.org. The possibilities are endless… as long as its school appropriate!
Project Description:
The LED array is a board of 1,980 digital RGB LED lights that can be used to display text, images, and animations, very similar to the signs that show the weather and the time outside of banks, and even by the parking lot at TFHS.

The only difference is that our array allows for greater range of vibrant colors.
Materials used:
The board itself consists of 33 digital RGB LED strips of 60 LEDs each stacked on top of each other in a rectangular shape on a sheet of acrylic. It is controlled by 5 Fadecandy boards from Adafruit.com and a Raspberry Pi 3. Along with these main components, wires, power buses, a power supply, and a usb splitter were also used. The programming is done in Processing and uses the Fadecandy and OPC libraries.
Use:
There are really two parts to using the array, the client and the server.
The server is the part of the project that actually talks to the led strips. To truly understand how the server works, one needs to understand how Fadecandy works. Essentially the Fadecandy boards on the back of the array know where each strip and each LED are placed on the array, and can tell the individual strips which LEDs need to be lit up and what color. The raspberry pi acts as the server and is what communicates with each fadecandy board and interprets the pictures, text, animations, etc. that are sent by the client. This is all done over the local network.
Fortunately for us, it is not required to understand how the server works to actually use it. For those interested in how the server was set up, look here. The next portion of the project, which is what the user is most concerned with, is the client. The client is where animations are generated and processed. There are many different ways to do this from html to python, but we have decided to use Java in Processing. Refer back to the Fadecandy reference to get the specifics, but essentially, Processing handles generating the animations for the LED array, and the library OPC (Open Pixel Control) translates the animations into commands to be sent, over the network, to the server and then the LEDs themselves.
To make sense of this, here is an example of how you can get some text to be displayed on the array.
First you are going to need to download Fadecandy, Processing, and PuTTY if they aren’t already on your system. Please don’t download duplicates of things.
While those are downloading go ahead and turn on the array if it isn’t already. Just a heads up, two people can’t be using the array at the same time so if someone’s animation is already playing, please either wait or ask them to turn it off.
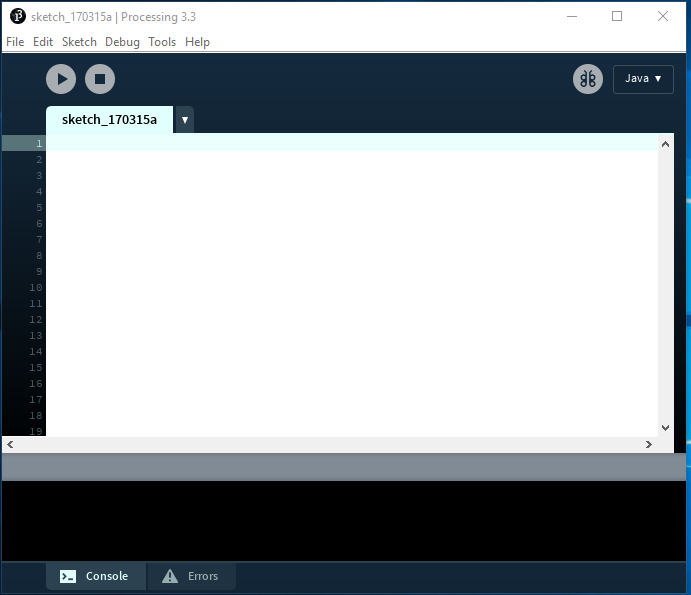
Once everything is done downloading go ahead and open up Processing. It should look something like this:
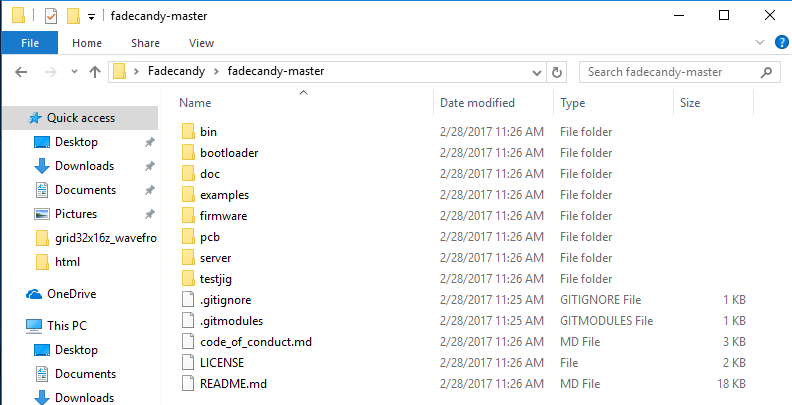
Then go to File->Open and then navigate to the Fadecandy folder you downloaded earlier. It should look a little like this:
Next go into examples->processing->grid24x8z_text and then open up the file called grid24x8z_text.pde. You should see this:
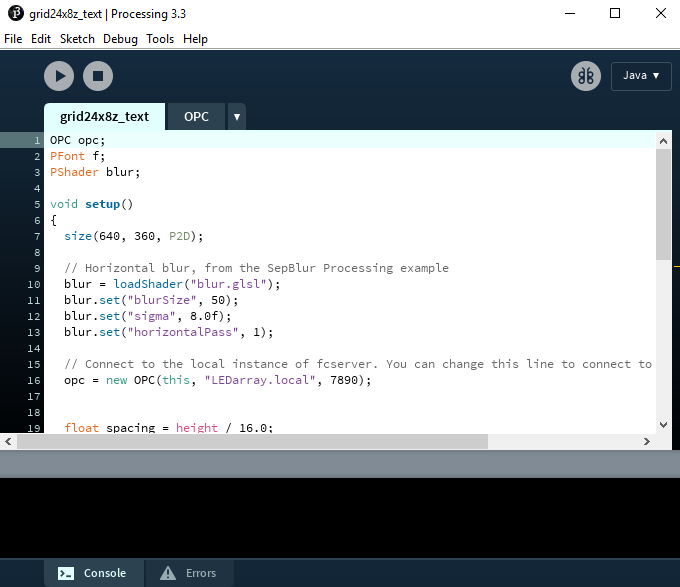
This is one of the examples that the Fadecandy devs have made for processing, but it isn’t compatible with our custom array. To fix that go ahead and replace the code in the grid24x8z_text tab with this:
OPC opc;
PFont f;
PShader blur;

void setup()
{
 size(640, 360, P2D);

 // Horizontal blur, from the SepBlur Processing example
 blur = loadShader("blur.glsl");
 blur.set("blurSize", 50);
 blur.set("sigma", 8.0f);
 blur.set("horizontalPass", 1);

 // Connect to Raspberry Pi fcserver
 opc = new OPC(this, "LEDarray.local", 7890);


 float spacing = height / 16.0;
 for(int i=0; i<33; i++){
 opc.ledStrip(i*60, 60, width * 0.5, i * height/34.0 +height / 48.0, height/33, 0, true);
 }

 // Create the font
 f = createFont("Futura", 300);
 textFont(f);
}

void scrollMessage(String s, float speed)
{
 int x = int( width + (millis() * -speed) % (textWidth(s) + width) );
 text(s, x, 250);
}

void draw()
{
 background(0);

 fill(190, 50, 255);
 scrollMessage("GO BRUINS", 0.05);

 filter(blur);
}
Make Sure that you replace EVERYTHING in the grid24x8z_text tab and NOTHING in the OPC tab. OPC is the library that handles the communication between Processing and the Pi and doesn’t need to be changed.
Once you have done that you should be able to hit the run button and have a window that pops up that looks like this:
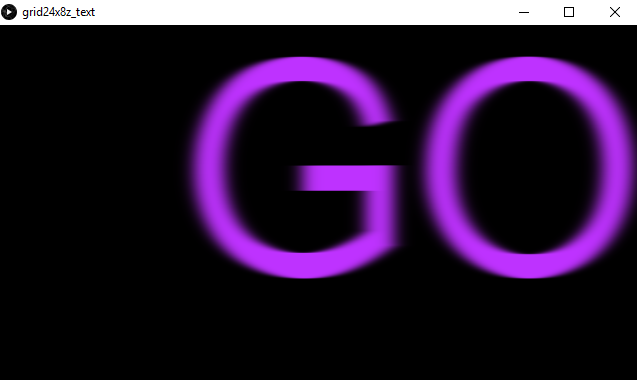
This means that your program works fine in processing. Then shortly it should look like this:
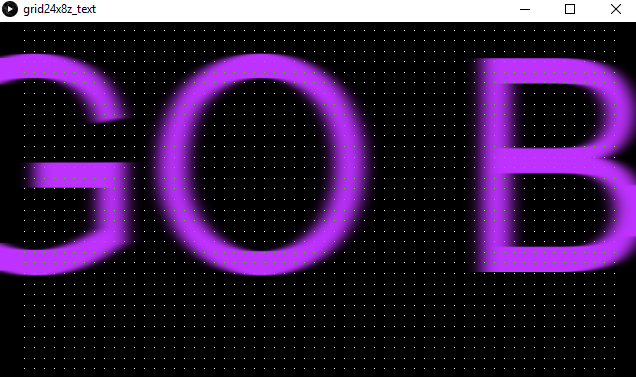
The white dots represent the individual LEDs on the array. Once this has shown up it means that you have successfully connected to the server and should be seeing “GO BRUINS” scroll slowly across.
So, what is actually happening? Just like the array has two parts, the program does as well. The first part, which is the part that you won’t have to worry about, is the OPC portion. lines like:
 for(int i=0; i<33; i++){
 opc.ledStrip(i*60, 60, width * 0.5, i * height/34.0 +height / 48.0, height/33, 0, true);
Tells Processing what the array looks like. This right here is what draws those white dots that you see when the program has connected to the server. OPC also handles connecting to the server. This line right here:
opc = new OPC(this, "LEDarray.local", 7890)
Does exactly that. LEDarray.local being the hostname of the Raspberry Pi, and 7890 being the port that Fadecandy uses to talk.
You will never have to change these lines ever, since the Raspberry Pi and the physical array will not change ever. but you will need both lines in every single program along with the OPC tab. There is a template avaliable from Mrs. Lamarche.
The next part is the part that you will be working on, the animation. This is done in normal processing, if you need a guide refer here. Essentially, any existing processing sketch, with some modification, is compatible with the array, which is very convenient.
Since this project is completely moldable, and has very few animations that are available to it, you can add to it as you please. If you aren’t sure what to do, or are new to programming, try converting some existing processing sketches online so that they can be displayed on the array.